Shadow Dungeon Builds: A Repeatable Boss-Ready Method
Plan a Shadow Dungeon build by aligning damage type, triggered skills, uptime, defense, and boss testing in one repeatable method.
Direct answer
Choose one primary damage source, align its damage family and triggered effects, then test cooldown, duration, resource use, and defense under sustained pressure before committing upgrades.
Quick answer
- Build around one active or weapon-granted damage skill.
- Treat cooldown and duration as one uptime problem.
- Use the DPS Tester to expose proc and survival gaps.
- Change one layer at a time when a boss stalls the build.
Build Prerequisites and Target Loop
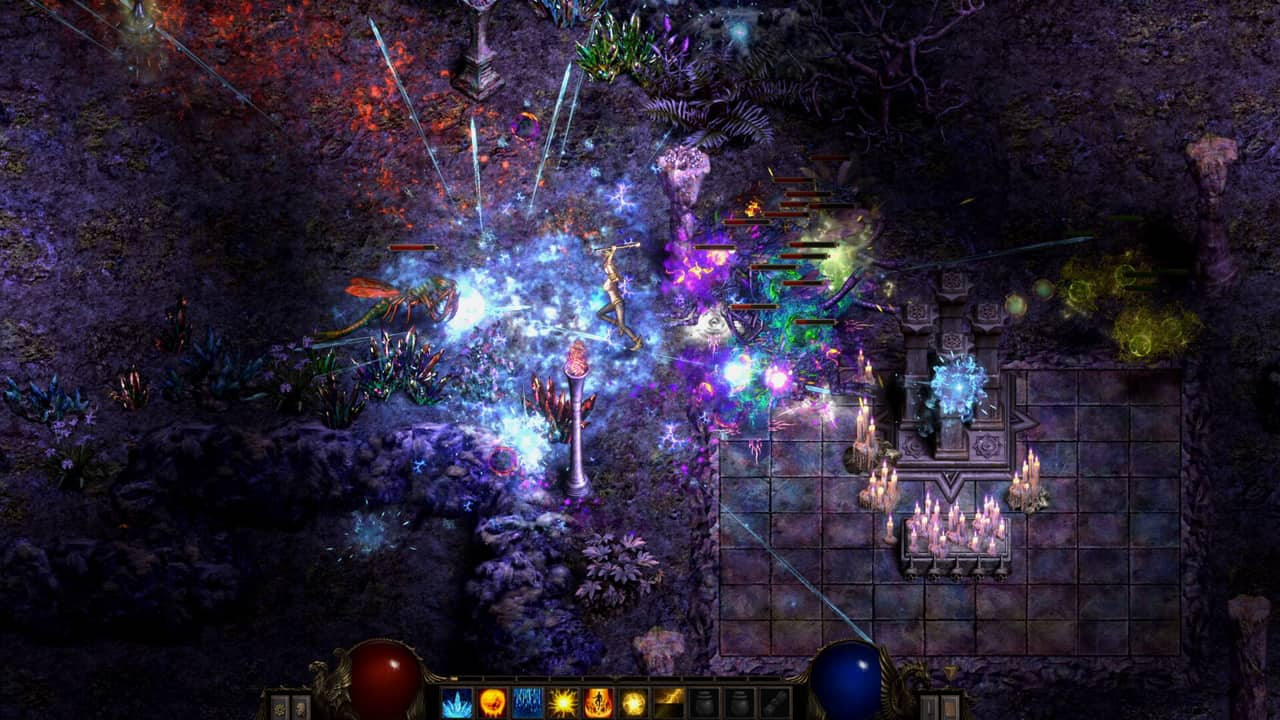
A coherent build is a chain: damage source, matching family, reliable trigger, repeatable uptime, and enough defense to keep the chain running. Shadow Dungeon supports that structure through weapons, equipped skills, three talent trees per class, more than 1,000 weapon affixes, and 2,400 weapon-granted skills.
Before changing gear, write down the five parts of the loop you are trying to produce:
| Layer | Question to answer | Ready state |
|---|---|---|
| Primary damage | Which active or weapon-granted skill does most of the work? | One skill is the clear anchor. |
| Damage family | Which family should its supporting affixes and triggers use? | The important effects reinforce the same plan. |
| Uptime | Do duration, cooldown, and mana allow the loop to repeat? | The skill cycle has no unexplained dead period. |
| Defense | Can you keep dealing damage while pressure continues? | Repeated hits do not immediately break the loop. |
| Test | Can the result survive a sustained target? | Damage, triggers, and survival remain stable together. |
Build a Coherent Damage Loop
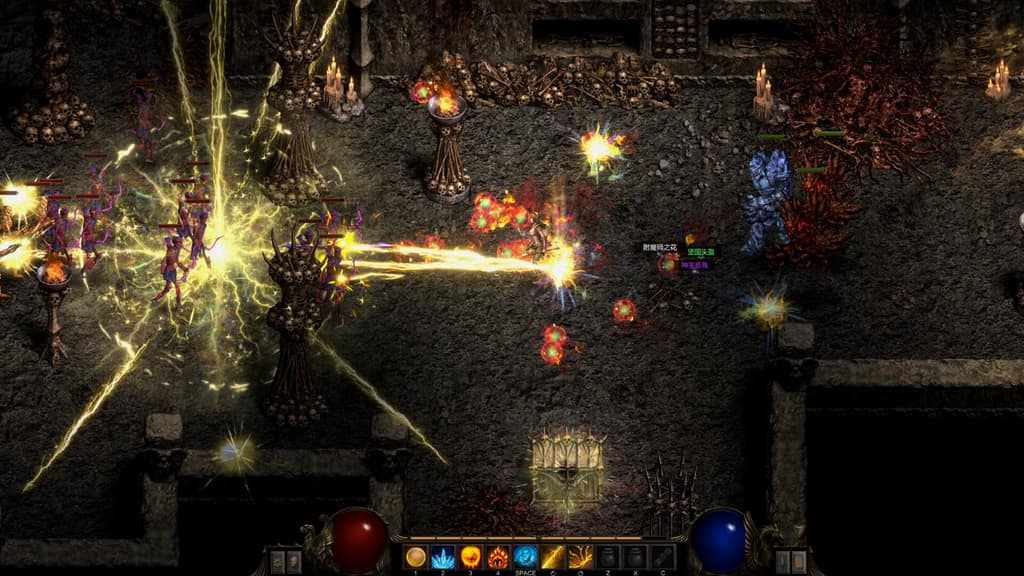
Choose the active skill or weapon-granted skill that should carry most of your damage. Its damage family becomes the reference point for affixes and triggered effects. A rare effect that pulls the setup toward a different family should earn its place through a measurable improvement, not merely through a longer tooltip.
- Name one primary active or weapon-granted damage skill.
- Align the important affixes and triggered effects with that skill's damage family.
- Add cooldown reduction, duration, and mana support until the loop can repeat.
- Add movement or damage reduction when enemy pressure interrupts the loop.
- Use the matching blacksmith control when a useful trigger has the wrong damage type.
- Finish only when the DPS Tester confirms stable damage, triggers, and survival under sustained pressure.
Historical footage provides one worked example: a Blade Soul Paladin combined its damaging skill with movement speed, damage reduction, duration, cooldown reduction, and added skill ranks. The value of that example is the relationship among its parts. It does not establish Blade Soul as the best choice for every class or release build.
See a Blade Soul Paladin loop and damage-type rerolls
This demonstration shows how duration, cooldown, movement, defense, and separate blacksmith damage controls fit into one practical build loop.
Choose What to Change
When a test fails, change the smallest layer that can explain the failure. This keeps a promising item or skill from being discarded because a neighboring layer is misaligned.
| Test result | First decision | Why this comes first |
|---|---|---|
| Main skill works, trigger feels weak | Check the trigger's damage family | Historical blacksmith footage shows a separate control for a weapon-triggered skill's damage type. |
| Damage starts strong, then stops | Compare duration, cooldown, and mana use | Talent footage shows that both global and skill-specific cooldown reduction still operate within duration and resource limits. |
| Damage is stable, survival collapses | Add movement or damage reduction | The demonstrated Blade Soul loop treated defense as part of uptime. |
| Tester works, boss still stalls | Observe the first sustained failure | A boss can expose a problem that short packs end before it becomes visible. |
Keep every reroll reversible while diagnosing. Record the result, change one layer, and repeat the same test. Several simultaneous upgrades can improve the build while hiding which interaction fixed it.
Test Uptime Before the Boss
There is no universal cooldown, duration, or defense number supported for every build. The useful threshold is observable: your chosen loop repeats without a duration gap, cooldown gap, mana stop, or immediate defensive collapse.
The launch release includes a DPS Tester that can attack your character and activate skills triggered when you are hit. Use it as a controlled checkpoint before treating easy map clears as proof that the build is ready.
| Progress check | Expected state | If it fails |
|---|---|---|
| Damage alignment | The primary hit and important triggers follow the planned damage family. | Inspect the triggered skill type and the matching reroll control. |
| Active uptime | Duration reaches the next usable cast without an unexplained gap. | Compare global reduction, skill-specific reduction, duration, and mana. |
| On-hit behavior | The Tester activates the effects that require your character to be hit. | Confirm the trigger condition before judging its damage. |
| Defensive uptime | Repeated pressure still leaves time to execute the main loop. | Trade a damage layer for movement or damage reduction, then retest. |
Move to a boss only after these checks stay stable together. A single high damage moment is not the completion state. The build is ready when it can repeat the planned sequence while the target and your character remain active.
Diagnose a Boss-Only Failure
Multiple players in a historical demo discussion reported a specific pattern: their builds erased normal enemies and minibosses, then failed against a Chapter 2 boss. One reported recovery used Blade Soul Paladin. Treat that report as a useful diagnostic pattern, not a current balance ranking.
| Diagnostic stage | What to inspect |
|---|---|
| Expected state | The primary damage loop repeats, its important trigger uses the intended family, and defense keeps you active. |
| Progress check | Compare the first full boss cycle with the same sequence on the DPS Tester. |
| Symptom | Packs disappear quickly, while boss damage falls off or incoming pressure stops the loop. |
| Likely cause | Poor single-target uptime, a mismatched proc, or too little defense for a longer encounter. |
| Next check | Retest damage alignment, proc type, uptime, then survival, changing one layer between attempts. |
If the boss survives your opening burst, watch what fails first. A silent proc suggests an alignment or trigger-condition check. A long empty window suggests duration, cooldown, or mana. A loop that ends when you are hit suggests defense or movement. This order turns a vague boss wall into one reversible test at a time.
What Applies to the Current Release
The large affix pool, weapon-granted skills, and DPS Tester belong to the launch release. They support the build method on this page today.
The detailed blacksmith layout, Blade Soul combination, and Chapter 2 boss reports come from historical demo material. Use them as examples of how to inspect a build. Confirm the current menu label and the result shown in game before spending scarce upgrade materials, and do not treat one demo setup as a universal best build.
Was this helpful?
Continue reading
These related Shadow Dungeon pages answer the next questions around this topic.